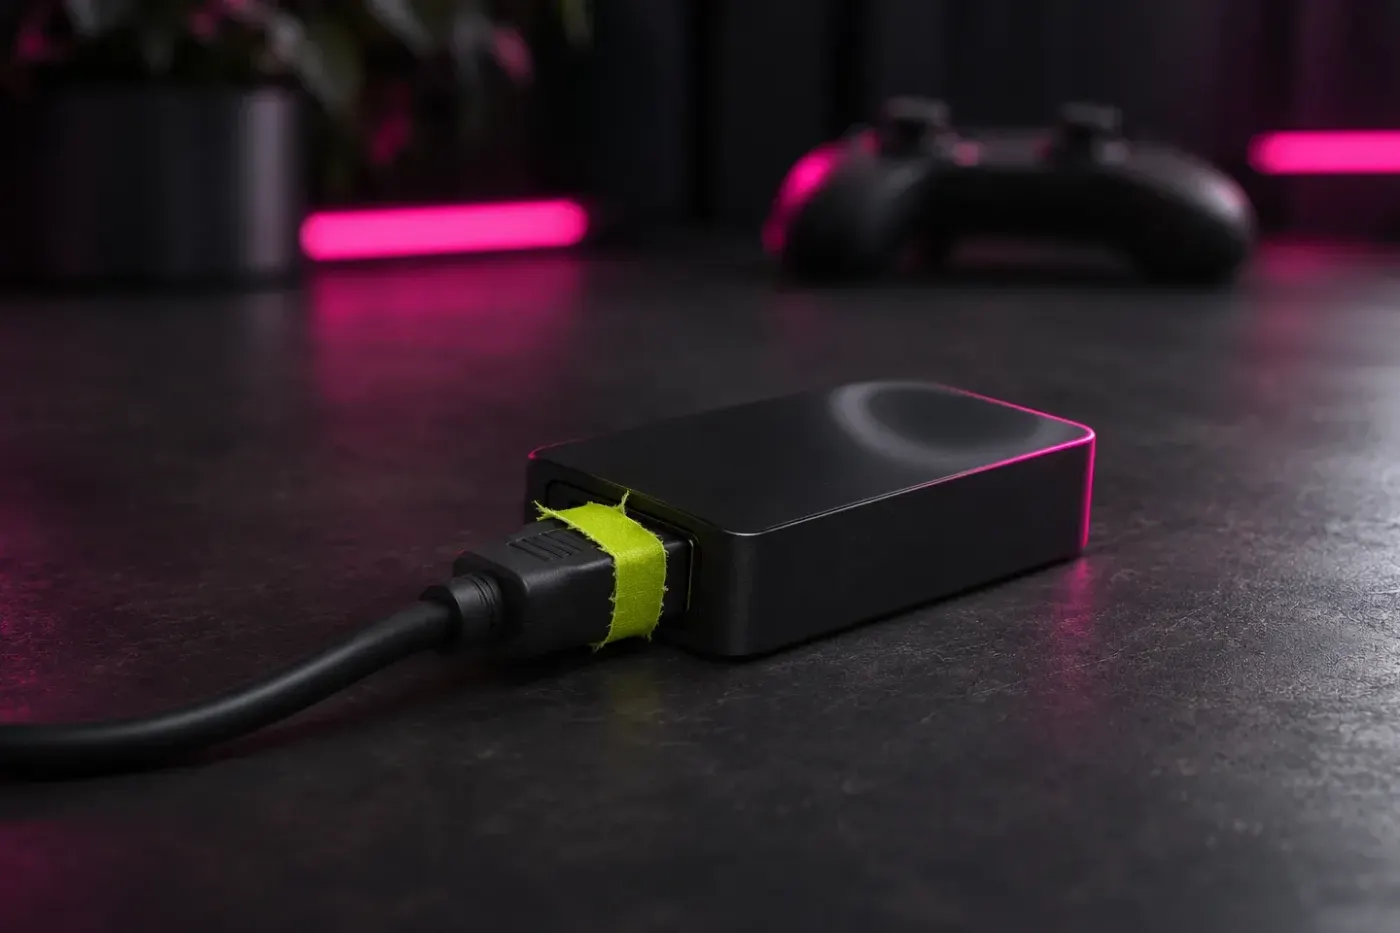
To set up a capture card in OBS Studio, connect the console or camera to the card's HDMI In, connect the card to your computer, then add the card as a capture source. Choose a capture mode the card supports and bring its sound into the Audio Mixer. A short recording should contain both the picture and the sound; the TV connected to HDMI Out remains your playing screen.
I recommend starting with the card's default mode because it gives you a baseline before changing resolution, frame rate or buffering. The source and monitoring controls below follow OBS 33; Windows, macOS and Linux split where their capture sources differ.
Find where the capture stops
| What you see | Where to check | Go to |
|---|---|---|
| No picture on the TV or in OBS | Source output, HDMI ports, cables and supported input mode | Connect the signal path |
| TV works, OBS preview is black | HDCP, capture device selection, permissions and capture mode | Clear HDCP, then add the source |
| Card absent from the Device list | Computer connection, driver and another app using the card | Find a missing device |
| Picture arrives, no card meter moves | Audio leaving the console and the card's audio input | Bring sound into OBS |
| Meter moves, headphones are silent | Monitoring and its playback device | Choose where you listen |
| TV looks smooth, OBS capture is uneven | Capture frame rate, buffering and the computer link | Check uneven capture |
Connect the console or camera to the card
For an external USB card with HDMI passthrough, the connections run in three directions:
- Connect the console's HDMI Out, or the camera's HDMI output, to the card's HDMI In.
- Connect the card's HDMI Out to the TV or monitor you play on.
- Connect the card's USB port to the computer using the data cable and port type specified for that model.

This is the arrangement shown in Elgato's HD60 S+ connection steps. A card without HDMI Out has no passthrough branch, and an internal PCIe card uses its installed computer connection instead of USB. Follow the connection diagram for your card.
The TV's mode and the recorded mode can differ. For example, Elgato specifies up to 2160p60 passthrough but 2160p30 capture for HD60 X, with USB 3.0 at 5 Gbps through a Type-C connector. Those are limits for that model. A USB-C socket by itself doesn't tell you that another card or cable supplies the required data connection.
Check the card's supported HDMI input and capture modes before choosing the console's resolution, refresh rate and HDR setting. Get a supported picture into OBS first; the scene's canvas size comes later. Increasing Base (Canvas) Resolution cannot make the card capture an unsupported input.
Switch and Switch 2
Use the dock's HDMI output for the original Nintendo Switch. Elgato's original Switch setup also identifies a sound trap: headphones connected to the docked console take audio away from HDMI. Unplug them if the card gets video but no game sound.
Switch 2 also feeds the capture card from its dock's HDMI output; connecting the console's USB-C port directly to the card isn't this capture route. For a failing Elgato connection, the Switch 2 troubleshooting procedure checks TV Resolution, HDR Output and 120 Hz against the card's capabilities, and uses Stereo for its audio troubleshooting. Apply the supported settings for your particular card.
Camera input
A camera needs an HDMI output the card accepts. Check its manual for clean HDMI, which removes shooting information from the output, and for continuous operation and external power. Elgato's camera compatibility checks cover those conditions. An OBS crop can't remove a focus box that moves through the subject.
Turn off console HDCP for gameplay capture
A working TV picture doesn't prove that the HDMI signal is capturable. HDCP-protected video is blocked by capture devices. For a PS5 or PS5 Pro, connect the console directly to the TV so you can see its settings, then follow the console HDCP procedure:
- Open Settings > System > HDMI.
- Switch Enable HDCP off.
- Reconnect the console through the capture card and check the OBS preview.
On PS4 and PS4 Pro, the route is Settings > System > Enable HDCP. Turn it off for gameplay capture. Protected films and media apps remain outside this capture route.
For the Xbox One family, Elgato documents that a media app can leave HDCP enabled and recommends restarting the console. A black frame after opening protected media is a reason to check the console first. Changing OBS's bitrate or reinstalling OBS won't remove HDMI protection.
Add the card as an OBS source
Select the scene that should contain the console or camera. In Sources, press + to open Add Source, select the capture type for your system and leave Make source visible checked. Press the Add a new… button for that type; OBS adds the source and opens its Properties.
The ordinary paths below cover standard capture devices. Some hardware has its own source, such as Blackmagic Device or AJA Device, listed in OBS's capture-source guide. Use the card maker's OBS instructions when they specify one of those sources or a required driver.
Windows: Video Capture Device
Add Video Capture Device, then choose the card in Device. A webcam in the preview means you've selected the webcam. Windows capture devices need a DirectShow-compatible driver, as the OBS capture-source guide explains.
Keep Resolution/FPS Type on Device Default for the first connection. If no picture appears after checking HDMI and HDCP, set it to Custom. That enables Resolution, FPS and Video Format; choose a combination the card supports. OBS's guide warns that an unsupported resolution or frame rate can leave the source blank.

Match Output FPS follows OBS's frame rate when Custom is active, so use it only if the card supports that rate at the selected resolution. Video Format starts at Any. Leave it there unless the card's instructions or a supported-format problem calls for a specific format. These controls and defaults are defined in the Windows capture source.
macOS: Capture Card Device
Open OBS Studio > Review App Permissions… and grant Camera access. OBS's macOS permissions guide includes capture cards under that permission.
Add Capture Card Device and choose the card in Device. Its relevant controls are Input format and Frame rate; choose a format and rate supported by the card. This source has no Windows-style Resolution/FPS Type menu or Buffering control. OBS also offers Video Capture Device for the camera-style path, but the card-specific source is the direct starting point for this job.

Linux: Video Capture Device (V4L2)
Add Video Capture Device (V4L2), select the card in Device and choose a card-supported mode from the available choices. Where available, use Video Format, Resolution and Frame Rate. Cards that report a video standard or DV timing can expose those controls instead. The V4L2 source carries video only, so its audio needs a separate input source.
Fit the incoming picture to the scene
Once the source's Properties show the right picture, select the source in the scene and use Edit > Transform > Fit to screen. Check the eye icon beside it and the Sources order if the main canvas still hides it: sources higher in the list cover those below.
Fit to screen changes the source's size on the canvas. It doesn't change the mode captured from the card. Preserve the full picture first; crop only an edge you intend to remove.
Bring the card's sound into OBS
Make the console or camera produce sound and watch the card's entry in the Audio Mixer. Its meter should move. That puts the sound inside OBS; hearing it in headphones and including it in the recording are separate checks.
Windows audio
Open the card's Video Capture Device Properties and keep Audio Output Mode on Capture audio only. This mode sends audio into OBS; local listening uses monitoring. The Output desktop audio modes instead play through the default playback device, which can create another capture route if OBS also captures that device.
If the card exposes a separate audio input, tick Use custom audio device and select it under Audio Device. You can also add Audio Input Capture for that input. Choose one route for the same card audio so it doesn't enter the mix twice.
macOS and Linux audio
On macOS, the capture source activates audio when the selected device provides it. There isn't an Audio Output Mode menu to copy from the Windows instructions. If the card exposes a separate input, add Audio Input Capture and select that input; grant Microphone permission when required.
With Linux V4L2 video, add the card's separate audio input through Audio Input Capture (PulseAudio) or Audio Capture Device (ALSA), according to the audio system and inputs available. If the operating system exposes no card audio input, another source name in OBS won't create one: check the card's Linux support and the console's audio output.
Choose where you listen
When the meter moves but your headphones are silent, use the source's monitor button in the Audio Mixer. OBS's mixer guide distinguishes monitoring from muting the output. In OBS 33, Edit > Advanced Audio Properties also has an Enable checkbox under Audio Monitoring.
Choose your headphones under Settings > Audio > Advanced > Monitoring Device. The current settings form places this control on the Audio page. Older tutorials can show a different location and monitoring menu.
For playing through HDMI passthrough, listen through that display's audio route. Enabling OBS monitoring adds the computer's copy; hearing both copies creates an echo. Monitoring into a playback device that Desktop Audio also captures can put the monitored copy back into OBS, so keep that route out of the recording mix.
A meter with a silent recorded file points farther along the path. Check mute and the source's Tracks assignments in Advanced Audio Properties against the audio tracks selected for recording. Monitoring is a listening control; the recorded file is the check that the output route works.
Find a missing card or a black source
A card absent from Device needs a connection or driver check before a scene transform. Reseat its data cable, use the computer port and cable required for that model, and check the maker's driver instructions. Close another capture app, then reopen the source's Properties. Elgato documents single-app access for some devices and Multi App support for others, so app contention is a check tied to the device.
When the card is listed but black, work from HDMI toward OBS: source directly to the TV, correct HDMI In port, supported source mode, HDCP, then capture mode. Elgato's no-signal procedure follows these cable and supported-resolution checks. A successful passthrough picture narrows the search, but the separate capture limit and computer link still matter.
On Windows, open Help > Log Files > View Current Log and search for the source's name. Video configuration failed identifies a capture-source setup failure. It doesn't identify one cause on its own; use it with the selected mode, driver and connection checks. Keep the current log for the card maker or OBS support if the supported setup still fails.
Check uneven capture without disturbing passthrough
Compare the capture mode's frame rate with OBS's output frame rate. In the Windows source, the FPS field applies with Resolution/FPS Type: Custom. Select a card-supported mode before choosing Match Output FPS.
Start Buffering at Auto-Detect. If capture is uneven, Enable is the next controlled check when the card and OBS use the same frame rate. OBS's Buffering tooltip describes the tradeoff: Enable favors smooth, frame-accurate playback at the cost of latency; Disable lowers latency. Change one setting, then compare a new recording. If changing the mode doesn't help, recheck the required computer data link before trying more source values.
Keep playing on the HDMI Out display when the card offers one. The OBS preview has passed through the computer's capture path and any enabled buffering. A card without passthrough leaves you with the captured preview or a different display arrangement; lowering buffering cannot promise a particular delay.
Reuse the card in another scene
Select the second scene and open Add Source. Choose the same source type, select your existing card source and press Add 1 existing. Both scenes now share that source and its Properties. This keeps one hardware source available across scenes instead of asking a second source to open the same device.
Check the picture and sound in a recording
Before going live, record a short clip with visible action and a clear sound, then play the saved file back. Check the full frame for unwanted borders or cropped edges, confirm the card's sound is present once, and compare a visible hit or speech with its sound.
If the sound has a consistent offset, Sync Offset in Advanced Audio Properties changes source timing in milliseconds. Adjust it from what the recorded file shows and record again; the offset and track controls apply after the sound enters OBS. Sound that drifts progressively out of step calls for another check of the capture timing and audio path rather than repeated fixed offsets.
For a game running on this same computer, start with OBS's Game Capture, Window Capture or Display Capture route. Use a capture card when the picture comes from an external HDMI device.